Thursday, March 23, 2023

Foundation Year Final Project: Production Week 6.

The changes from Monday to today are mostly small changes but they represent improvements to the game ahead of the deadline for finishing the first level (27/03/2023). 


Changes to enemy spawner. 

I've added code to my game's enemy spawner object that implements a timer into the spawner, and once the timer variable is greater or equal to another variable (currently 10 for all spawners), then an enemy is spawn and the timer is reset. This code works as long as the enemy spawner is not shot down. 


This did present a problem, as enemies from later parts of the game would push up against each other and eventually outside the 2D Tilemap collider that I've added to the walls. I fixed this by changing the enemy movement code to move enemies using their Rigidbody2D components, rather than by their Transform components. 

Map changes.


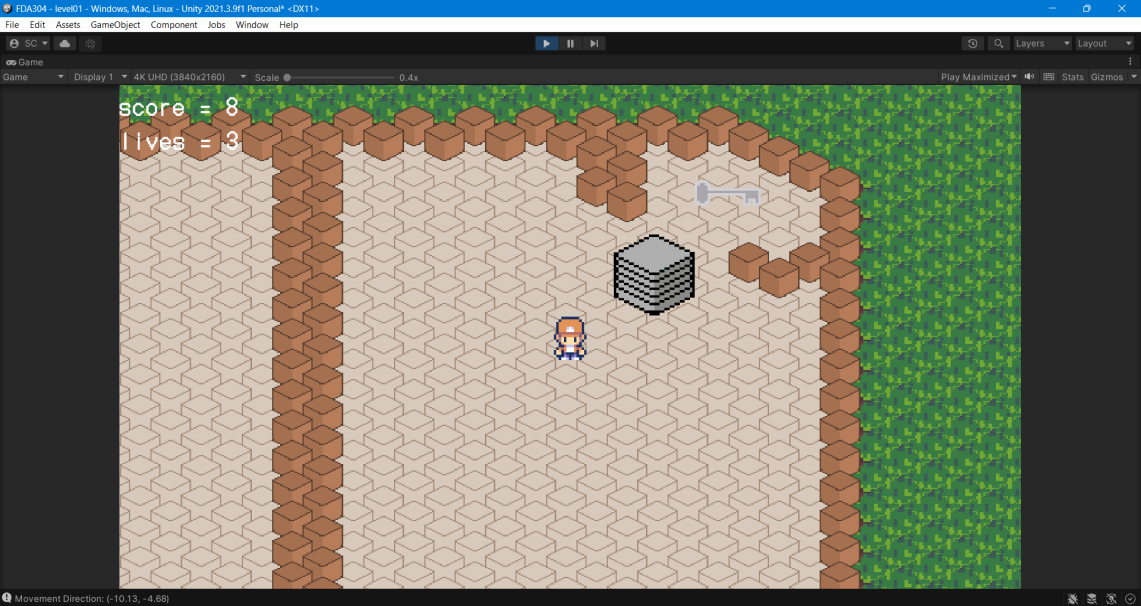
I've expanded my game's map by adding new alleyways. The work on expanding it is still ongoing as evident by the flooring that hasn't been expanded to the new areas yet.

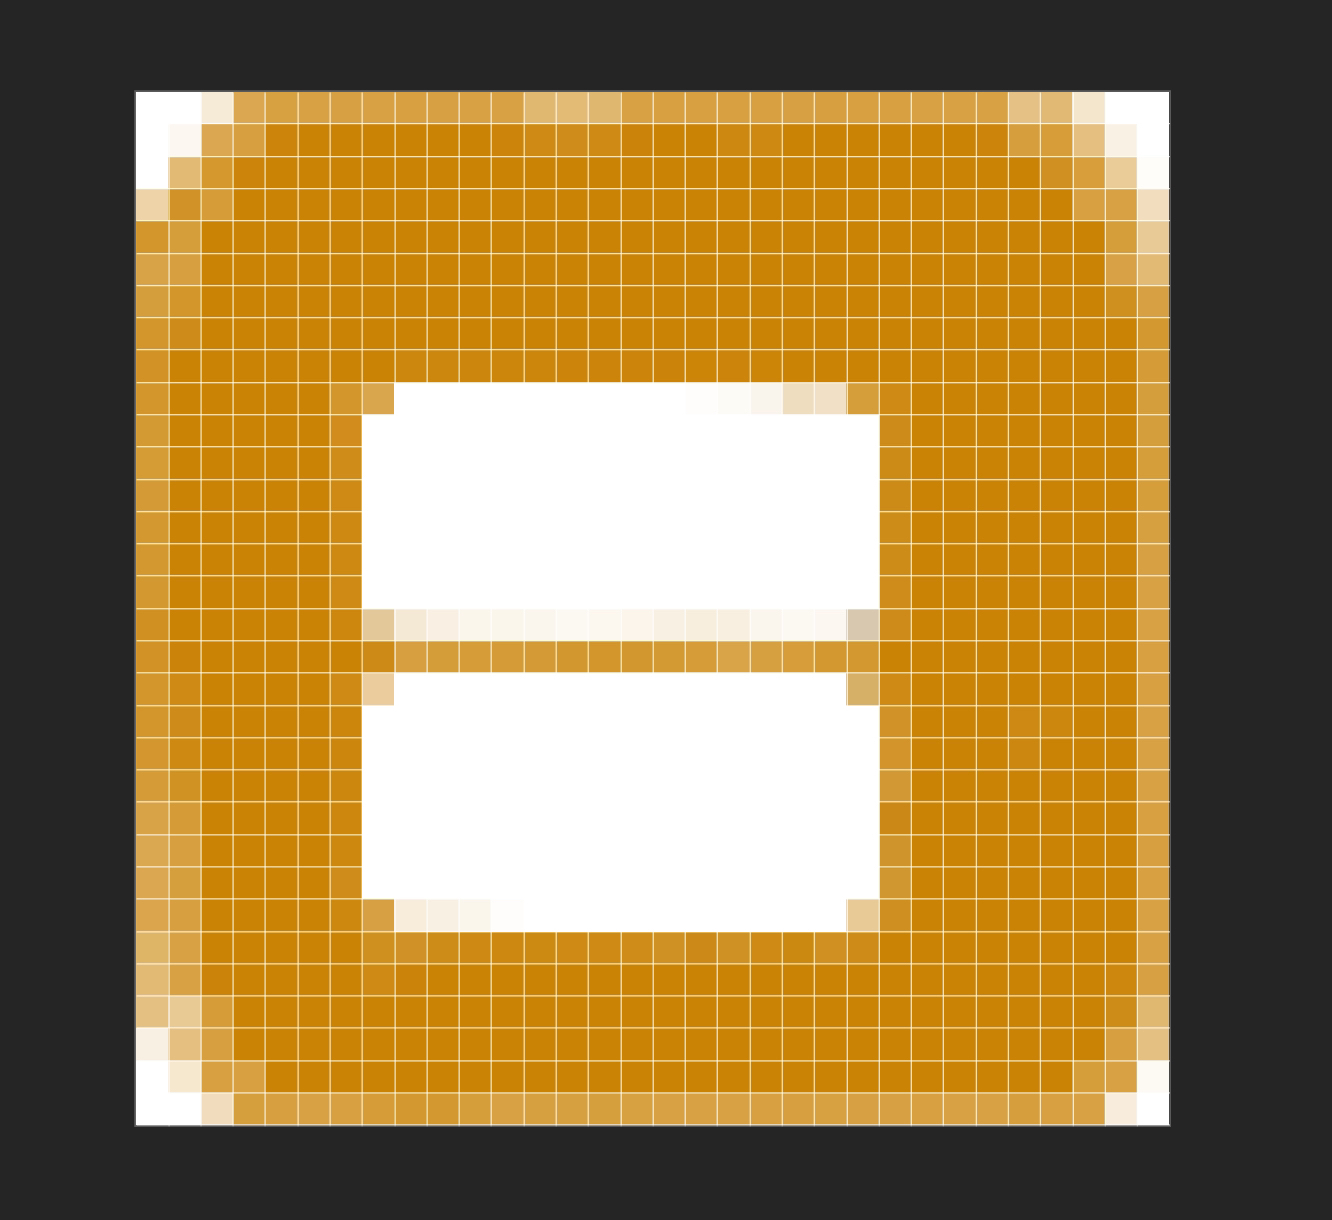
New Door Image. 


A minor change I've added is the addition of a new door sprite, as seen above. I made it in GIMP and I then imported it as a PNG. I've also modified the game object to remove any unnecessary children game objects. 


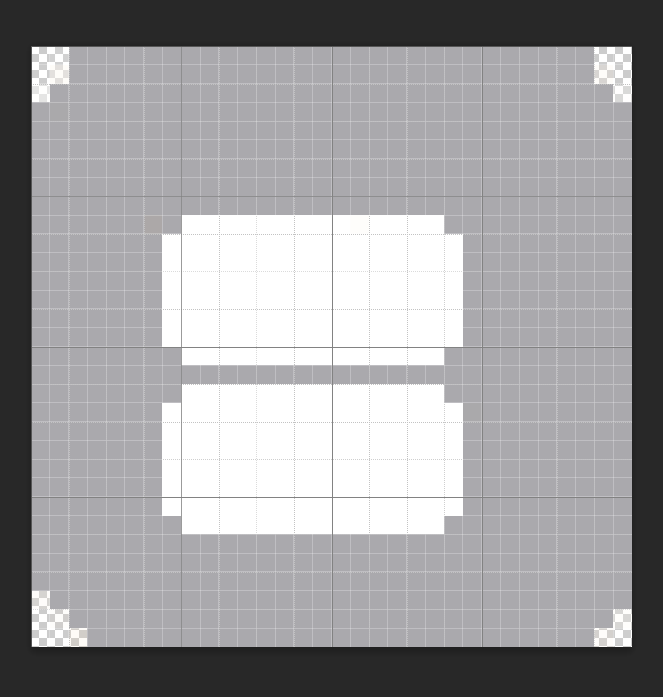
New Coin. 


The final change for now relates to the coin system that I've got in my game. I created another coin in GIMP, using a Diamond blue colour. I then created a new prefab-variant in Unity and replaced the default coin image with the new blue image. 

This new coin now grants the player 10 points rather than 1 point for silver coins and 2 points for gold coins. 


Monday, March 20, 2023

Foundation Year Final Project: Production Week 5.

 Here is are the major changes from the last week.


I started the week by creating new tiles for my game. 


I then started to design the level in my game. 


I set the enemies to have the same looking direction at the player, which works for now, although it will be replaced later. 

I started creating a coin object. 


I also created a silver version. 


I made a game object that gives the player points when it overlaps with the object. Both coins feature a silhouette of my character,  Wilbo.


I created a new enemy prefab that is faster and bigger than the 1st prefab. 


Finally, I revamped the shooting script to turn the game into a twin stick shooter. I created new objects within the main p1 gameObject that rotates based on the position of the mouse. The bullets then spawn at the end of the object. 


That concludes this weeks development. 


Thursday, March 9, 2023

Foundation Year Final Project: Production Week 4.

Here are some of the changes I've made to my final project:


Pause Menu.

One of the major changes this week is the introduction of a pause menu, accessible with the Esc key. I wanted to be able to pause and reset the game whenever needed and the pause menu allows for that. 


One issue that I will address soon is that, because of the way the game pauses, the player can turn but not move. Although I have introduced a variable for pausing in the necessary script, I will need to introduce it as a condition for turning. 


EnemySpawner object.

One of the additions that was suggested to me by my teacher was a GameObject in Unity, that you could shoot down and that would spawn enemies. I thought it was a good idea and so I added it into the game. I made it so that the colour of the object reflected the health of the Spawner, and when the Spawner's health dipped to below or at 0, then it would spawn a number of enemies near the location of the spawner device. 


This was fairly easy to program, as it mainly relies on the OnCollisionEnter2D function that I have used many times before in Unity. The trickiest part was the colour mechanism, as I wasn't able to directly change the colour of the sprite by using the health integer. 

Eventually, I decided to just check for the object's health and have the function update according to the number.

void CheckHealthLevel()
{
if (eSpawnerHealth > 75)
{
_spriteRenderer.color = Color.white;
}
else if (eSpawnerHealth > 50)
{
_spriteRenderer.color = Color.black;
}
else if (eSpawnerHealth > 25)
{
_spriteRenderer.color = Color.blue;
}
}


New player sprite. 

Based on user feedback from a game development Discord server, I decided to swap out the sprites that the player previously had. What I went for instead was a series of sprites from the same sprite pack, but with a red baseball cap. I also decided to swap the enemies sprite to what the player previously had. 

This sprite was better received from the server, and I agreed that I enjoyed the sprite more, so this is a permanent change. You can see the sprite changes below. 


You may also notice that there aren't any animations for the enemy yet. This is something I will address within the upcoming week. 


Player speed reduction.

Finally, I decided to place the easiest change this week as the last on this post. After gaining some feedback about player speed on a game development Discord server, I reduced the player's speed from 1.5 to 1 in the inspector.

The result is as shown below:


I decided to stick with the changes by applying it to the player prefab. 

Conclusion.

This week, I added an object for enemy spawning, I changed the player's speed and the player's sprites. 

Next week, I will fix the player's turning when the game is paused, I will also add animations to the enemy and I will work on the game's environment. 


Sunday, March 5, 2023

Foundation Year Final Project: Production Week 3.

This week, I made a number of changes to the player and to the game environment. The first change was that I fixed the players shooting direction. 
How did I fix it? I was in JetBrains Rider, editing the script when I noticed that the direction function was greyed out, which meant it was not working. I right clicked on the function and Rider suggested that I change it to a Switch case. 

I had been given some feedback from a Game Development Discord server, suggesting that I use a Switch statement, so I tried it. Rider rewrote some of the code using the Switch case. 

I also decided to rewrite the shooting position code using similar code to what is shown above. 

Both those changes, in addition to script modifications, allowed me to get the desired result above. 

However, I also decided to change the art and background. So I downloaded an asset pack on the internet and imported it into Unity.

I then used it to decorate my landscape.

The last major change this week was to add a new isometric tile map to accompany the water tile that came with the new asset pack. I coded it so that the player dies if they touch the water. 

I broke the project in a branch on Git, so I had to revert back to the main branch, taking away the progress I had made with the water. However, I as able to quickly fix it. And I also added a gameObject with a GameManager script that resets the game when the player dies.


Next week, I will work on enemy movement and shooting, and world decoration. 


Thursday, February 23, 2023

Foundation Year Final Project: Production Week 2.

 For Week 2 of production, I had 2 priorities; Start work on the enemy and the enemy movement, and create a gun for the player.  

I decided to work first on the enemy. This was relatively easy to complete. I created a new gameObject with a Rigidbody2D component, a Box Collider 2D component, and I created a script named "e1Movement." 

Here is the spotPlayer that runs on the FixedUpdate function.

private void spotPlayer()
{
float playerDistance = Vector2.Distance(transform.position, _p1Movement.transform.position);
Debug.Log(playerDistance);
// Occurs if the player's calculated distance is greater than the allotted distance.
if (playerDistance > maxDistance)
{
_rigidbody2D.MovePosition(Vector2.MoveTowards(transform.position, _p1Movement.transform.position, enemySpeed * Time.deltaTime));
}
else if (playerDistance < maxDistance)
{
_rigidbody2D.velocity = new Vector2(0, 0);
}
}

As you can see, the function calculates the distance of the player from the enemy, if the gap is big enough, the enemy's Rigidbody2D moves towards the player. Otherwise, the velocity is set to 0.

Next, I focused on the player's shooting mechanic. 


void Update()
{
gunBarrelUpdate();

if (Input.GetButtonDown("Fire1"))
{
BulletCreation();
}
}
void BulletCreation()
{
GameObject projectile = Instantiate(bullet, gunBarrel.position, gunBarrel.rotation);
Rigidbody2D bulletRb = projectile.GetComponent<Rigidbody2D>();
bulletRb.AddForce(gunBarrel.up * bulletImpact, ForceMode2D.Impulse);
}

I will get to the gunBarrelUpdate() function next, but the BulletCreation function creates a bullet projectile, finds the Rigidbody2D component and uses it to add a force to the bullet. 

One problem I had was that the gun location wouldn't update in line with the player's direction.


I had also resized some of the tiles I used from Kenney, which caused scaling issues, so I removed the tilemap while I fixed them.


To fix the gun issue, I created 4 new gun points that point in 4 directions, and then I created a new function that updates the gunPoint variable in code. 

void gunBarrelUpdate()
{
p1Direction = _p1movement.GetPlayerDirection();
if (p1Direction.x == 0 && p1Direction.y == -1) // South.
{
gunBarrel = South.transform;
}
else if (p1Direction.x == 0 && p1Direction.y == 1) // North.
{
gunBarrel = North.transform;
}
else if (p1Direction.x == 1 && p1Direction.y == 0) // East.
{
gunBarrel = East.transform;
}
else if (p1Direction.x == -1 && p1Direction.y == 0) // West.
{
gunBarrel = West.transform;
}
else
{
gunBarrel = originalGunPosition;
}
}


The code grabs the direction variables from the p1Movement script, and uses them to update the gunPoint variable. 

There is still an issue with the shooting, however, in that when the player is still, the bullet is also still. This is something I am still working on. 


For the next week, I will continue to refine the player shooting and add enemy movement.


Thursday, February 16, 2023

Foundation Year Final Project: Production Week 1.

I've been working on a Foundation Year project for the past 4 weeks, and most of it has been for Pre-Production. While I've done a bit of code already for menus, on Tuesday, I started creating code and functionality for my player.

I found a free asset pack on Itch.io for isometric character movements, which I used for the player. 

I followed a tutorial on YouTube to create a script that allowed the player to move in 8 directions.

I did this by creating 2 functions. The first function updates the player's movementDirection variable by grabbing  the player's input. 


The second function uses the MovePosition() function to move the player based on the newly refreshed movementDirection variable. It works by adding the players position with the direction and the movementSpeed variable multiplied by Time.FixedDeltaTime.


Someone on Discord suggested I used Blend Trees for my animation, and the concept would soon come up on the tutorial video that I was following. The difference between the video tutorial and my game was that I was also using animations for SW, SE, NW, and NE. 


I setup the game so that the player's default state is the "Idling" blend tree. Once the player gains speed, it moves to the "Walking" blend tree before moving to the "Idling" tree again once the player stops. 


It didn't work, initially. I tried to update the game in the 15 minutes I had left in the lesson, and I couldn't figure out why the animations were not updating in the game. 

On Wednesday, I found the culprit. 

I had placed the code for updating the games animation in its own function, and I didn't call it.

After calling the function in Update(), the player now not only moves, but the animation changes to face the desired direction whenever the keys are pressed for that direction. 


Next, I worked on the design of the game. I added assets from kenney.nl to create this small island, using the Tile map system. I used the Isometric Landscapes pack to build ground around the player. 


I then used a combo of that pack, the Isometric Buildings and the Isometric City pack to build a much larger environment. 


I had 3 isometric Tilemaps within the grid in the game. 2 of those tile maps have Tilemap Collider 2D components, preventing the player from going into, or moving past the Tilemaps, creating a wall for the world. 


I used Unity's Tile Palette feature (Window - > 2D -> Tile Palette) to fill the game with the appropriate sprites.  

Ground layer.


Ground + Pavement layer.

Ground + Pavement + Buildings layer.


Next week, I will start to create an enemy, by making the object, and adding a AI movement script. 


Thursday, February 9, 2023

An introduction.

Hello!

My name is Sam and I am a student from the United Kingdom. 

I am a game developer focusing on Unity 2D, and Unreal Engine 5. 


As of the time of writing, I am currently taking a foundation year, but I expect to transition to a Computer Science degree in September. 

I am also learning Japanese and Python in my free time, and I've made some progress in those fields. 

I made this blog so I could showcase progress in topics I am interested in, like game/software development.

Thank you.

Sam. 


Game Dev Processes & Improvements

 Hello! Today I'm going to reflect on my processes for Game Development and how these can be improved.  Tasks/Notes  One of the issues I...